How to effectively perform MacBook screen and Motherboard repairs in South Africa at your workspace
How to effectively perform MacBook screen and Motherboard repairs in South Africa at your workspace
Blog Article
The Ultimate Overview to Gadget Repair Service: Navigating Screen Fixing and Mastering Motherboard Repair
You do not have to count exclusively on specialists for repair services. Allow's explore the basics of device repair work with each other.
Recognizing Typical Gizmo Problems
When you depend upon gadgets for daily jobs, it's discouraging when they begin breaking down. You might observe your mobile phone freezing all of a sudden or your laptop computer running slower than common. Usually, these concerns come from software program problems or out-of-date applications. It's important to keep your device's os updated to avoid these hiccups.
Screen problems like flickering or unresponsiveness can develop from physical damage or software application concerns. Occasionally, a simple restart can resolve the issue. Connectivity issues may occur with Wi-Fi or Bluetooth, usually resolvable by toggling the setups or resetting the tool. Understanding these usual concerns encourages you to repair properly and recover your gizmo's efficiency.
Devices You'll Need for Screen and Motherboard Repair
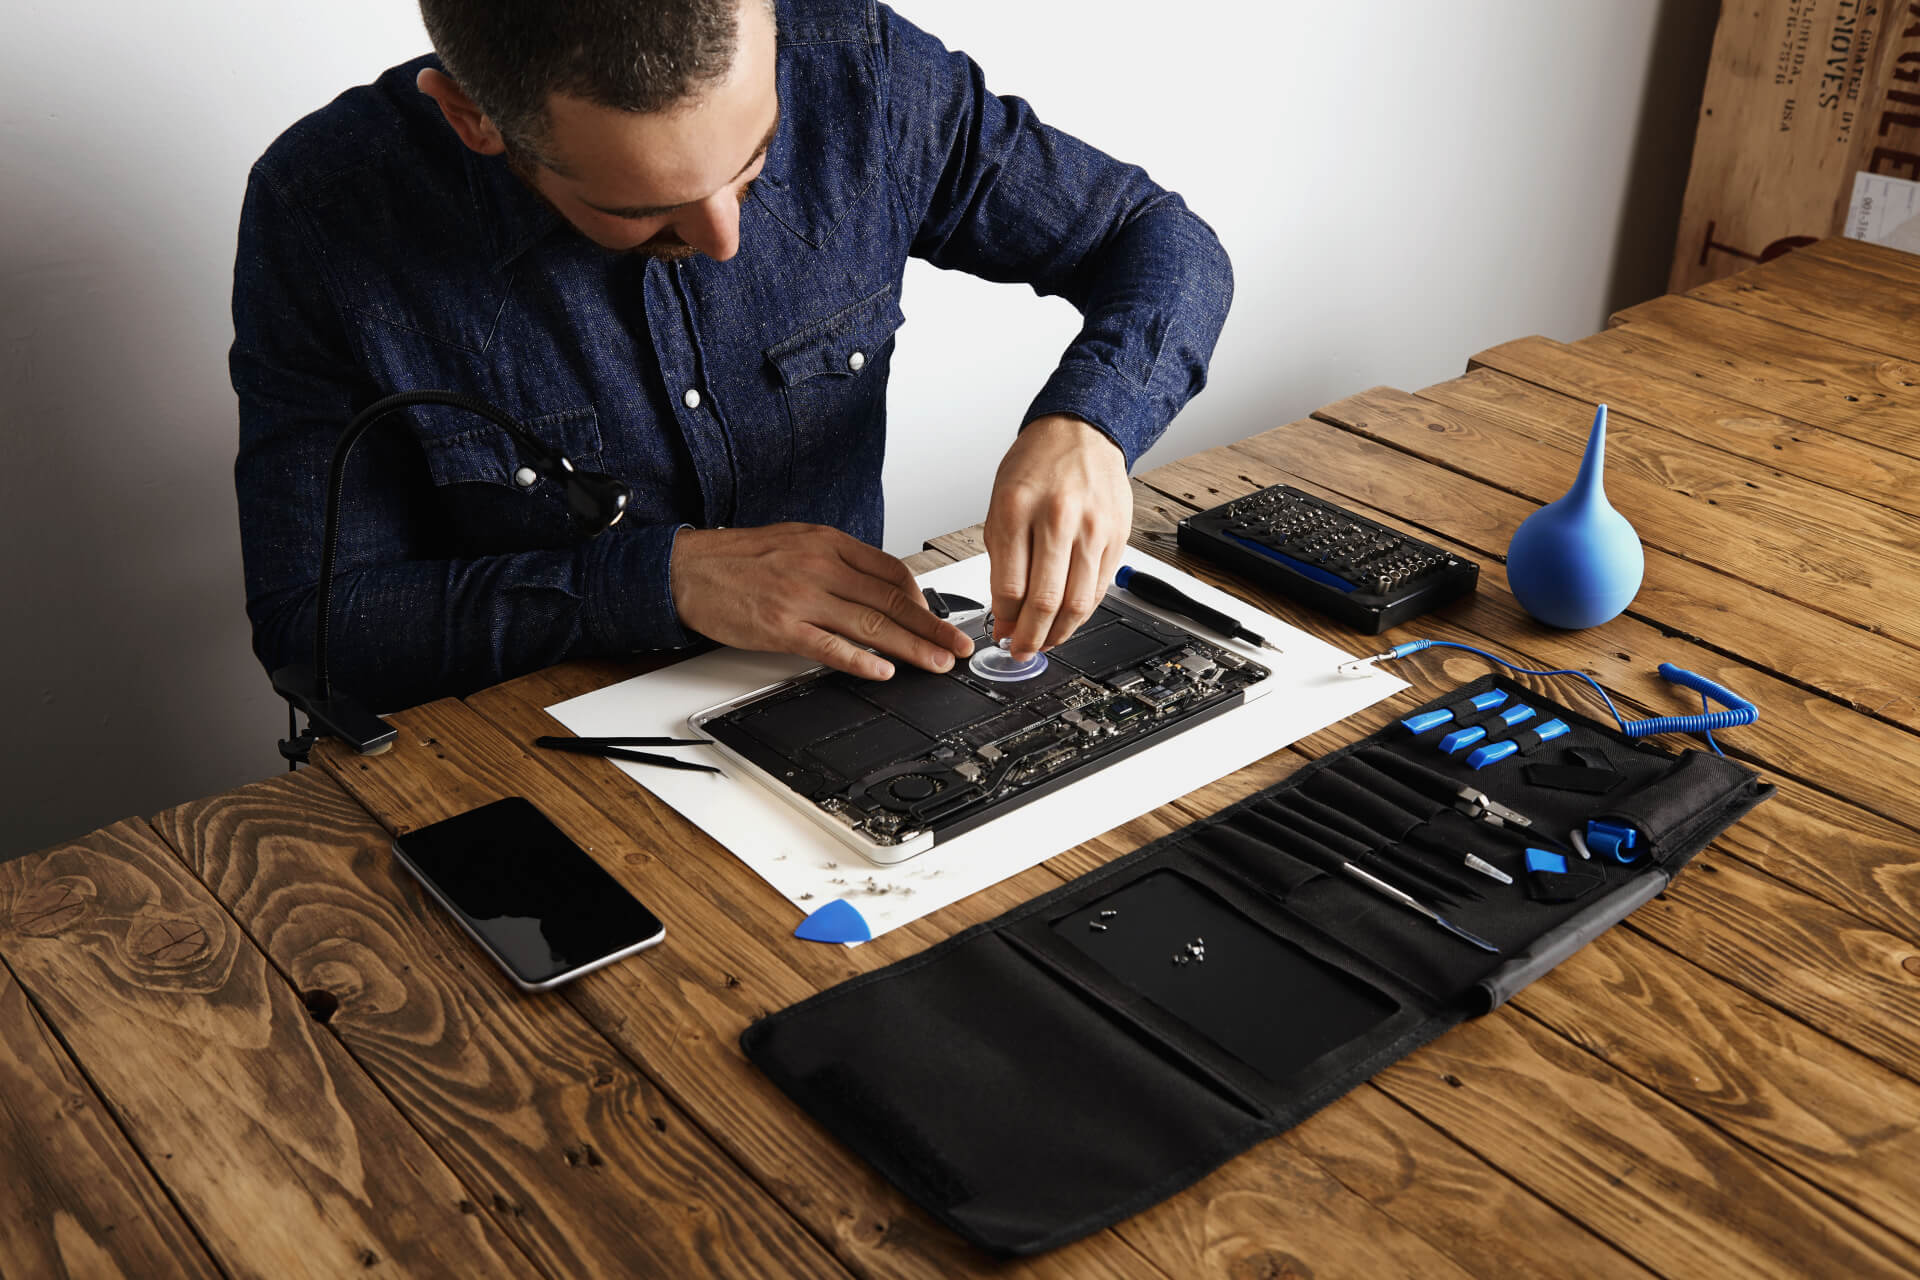
When you've recognized concerns like screen flickering or unresponsiveness, having the right tools on hand makes all the difference in fixing your gadgets - MacBook screen and Motherboard repairs in South Africa. A plastic spudger is vital for spying open displays without harmful fragile elements.
For screen repair service, a warm gun or hairdryer can help soften adhesive, allowing you to divide components easily. If you're diving into motherboard repair service, a multimeter is crucial for detecting electric issues.
Finally, purchase an anti-static wrist strap to shield delicate electronics from fixed electricity. With these tools, you'll be well-appointed to deal with both display and motherboard repair work with confidence.
Step-by-Step Guide to Screen Repair Work
To successfully fix a display, begin by collecting your tools and preparing the office. You'll require a screwdriver set, a plastic pry tool, and a brand-new display. Make certain your location is tidy and well-lit.
First, power off your tool and get rid of any cases or covers. Use the screwdriver to thoroughly remove the screws holding the screen in position. Delicately insert the pry tool in between the display and the device frame to pop it loosened. Take your time to prevent harmful any type of components.
Once the display is cost-free, disconnect the cable television by gently lifting it from its connector. Currently, take the new display and link it to the device, ensuring it's firmly in area.
Very carefully align the screen with the gadget structure, press it down, and change the screws. Lastly, power it on examine your job. You've simply finished a successful display repair service!
Fixing Common Display Problems
Although you have actually simply completed a display fixing, you could still experience some common concerns that can influence its efficiency. Initially, check for dead pixels. If you spot them, it can be an indicator of a damaged connection or a defective display. Next, if your screen flickers, confirm all cable televisions are firmly attached. Loose links can activate display screen troubles.
If your display has a yellow tint, it may be a software issue or a calibration problem. Take into consideration changing the setups in your display preferences. In addition, if touch level of sensitivity seems off, alter the display or check for any type of particles around the edges.
Last but not least, if the display screen is unresponsive, do a hard reset on your gadget. If troubles linger after these repairing steps, you might require to review your repair work or seek expert aid. Remember, recognizing the concern early can save you time and initiative down the line.
Mastering Motherboard Fixing: Key Techniques
When dealing with motherboard fixings, having the right tools is crucial to your success. You'll often encounter usual issues that can be fixed with a clear step-by-step process. Allow's discover these methods to assist you grasp the art of motherboard repair work.

Crucial Devices Required
While you might believe that fixing a motherboard requires specialized abilities, having the right tools can make the procedure far more convenient. Beginning with an accuracy screwdriver readied to deal with small screws. A welding torch is crucial for any kind of element substitutes or repair services, so invest in an excellent one. You'll likewise require solder and desoldering devices to assist with links. A multimeter is crucial for diagnosing electrical concerns and inspecting part performance. Maintain Clicking Here a pair of tweezers convenient for dealing with small components. An anti-static wrist strap will secure your motherboard from static damages. Finally, a magnifying glass or lighted magnifier can assist you see fine details. With these devices, you're well-appointed to take part in motherboard fixing confidently.
Typical Concerns Identified
A number of typical problems can arise with motherboards that every repair service fanatic should acknowledge. First, you may encounter power failures due to defective capacitors or harmed traces. If your gadget will not switch on, examine for burned elements or loose links. Next, overheating can originate from inadequate air conditioning services or dirt accumulation, which can cause efficiency problems. You must additionally look out for brief circuits, frequently triggered by fluid spills or inappropriate handling. Additionally, BIOS failures can avoid booting and may call for firmware updates or resets. Part failings, such as faulty RAM slots or harmed adapters, can interrupt performance. By recognizing these concerns early, you can conserve time and improve your repair work abilities.
Step-by-Step Fixing Refine
Determining typical motherboard issues is just the primary step; recognizing exactly how to deal with repairs is where your skills absolutely beam. Beginning by detaching the power supply and removing the motherboard from the device. Evaluate for noticeable damage, such as burned parts or protruding capacitors. Next off, use a multimeter to examine connections and recognize faulty parts. As soon as you've determined the concern, thoroughly desolder the harmed component and change it with a new one. Ensure to solder it correctly, making certain a safe and secure link. After reconstructing, power up the device to test your fixing. If it boots successfully, congratulations! You've simply mastered a vital technique. Keep in mind, practice boosts your abilities, so maintain experimenting with different fixings.
Detecting Motherboard Concerns
How can you inform if your motherboard is creating concerns? Start by observing any type of uncommon behavior in your gizmo. If it won't boot or frequently accidents, that's a red flag. Focus on any mistake messages; these can offer ideas concerning hardware failings. If you see unusual noises, like warning during start-up, this can indicate motherboard troubles.
If you can, reseat the RAM and various other ports, as loosened connections can imitate motherboard issues. Using diagnostic devices like Article cards find more info can assist pinpoint the problem, as well.
If your device still will not respond after these checks, it's time to contemplate specialist assessment or replacement. Keep in mind, detecting motherboard concerns can be difficult, yet cautious observation and methodical checks will lead you to the best final thought.
Preventive Actions to Prolong Device Lifespan
After addressing potential motherboard issues, it's equally as vital to concentrate anchor on safety nets that can help extend your gizmo's life-span. Begin by keeping your device tidy; dirt and particles can block vents and cause getting too hot. Use a microfiber fabric to wipe the screen and instance on a regular basis.
Following, buy a quality instance or screen guard. These can secure your gizmo from unexpected drops and scratches, protecting its problem.
Additionally, stay clear of exposing your gadget to severe temperature levels and moisture. Maintain it in a great, completely dry area, and do not leave it in a hot cars and truck.
Last but not least, regularly upgrade software and applications - MacBook screen and Motherboard repairs in South Africa. Updates typically consist of protection patches that protect against vulnerabilities
Regularly Asked Concerns
How Much Does Specialist Device Repair Service Generally Expense?
Professional gizmo repair costs typically vary from $50 to $300, depending on the device and the issue. It's smart to compare costs and read evaluations to ensure you're getting top quality service for your cash.
Can I Fix My Device Without Prior Experience?
Yes, you can repair your gizmo without previous experience! Begin with straightforward solutions, view tutorials, and collect the right tools. With perseverance and technique, you'll acquire self-confidence and boost your abilities gradually.
What Are the Dangers of Do It Yourself Gizmo Fixing?
When you attempt DIY gadget repair service, you take the chance of harmful your device further, invalidating warranties, or harming on your own. It's vital to weigh these risks against your self-confidence and skill level prior to diving right into repair services.
Just how Do I Discover Trustworthy Repair Work Solutions in My Area?

What Guarantee Options Exist for Repaired Gadgets?
When trying to find service warranty alternatives on fixed devices, you'll frequently find selections like limited service warranties, contentment assurances, or prolonged protection. Constantly ask your fixing service about their details policies to ensure you're safeguarded.
Report this page